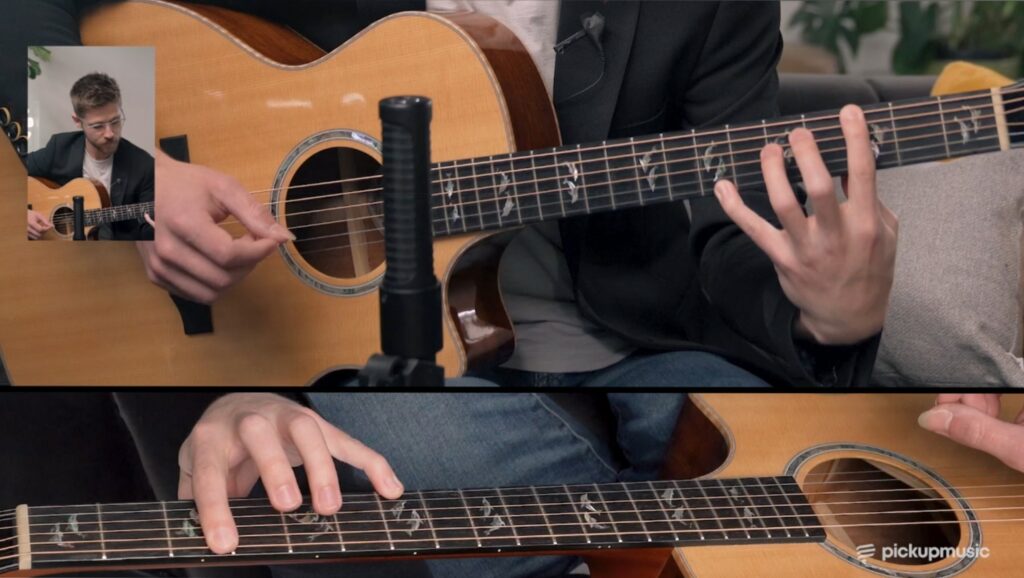
Danny Boy – Fingerstyle Version: Pickup Music Playthrough
- danny-boy-melody.gp
- danny-boy-melody-and-bass.gp
- danny-boy-full-arrangement.gp
There’s something very special about hearing a classic song beautifully arranged on the acoustic guitar.
When the bass, chords, and melody intertwine on one instrument it’s just a great feeling as a player and a great listening experience for the audience (even if that’s just your cat).
So, the question is: How can you turn your favorite songs into a solo performance piece?
The best way to learn this skill is by copying other people’s work! Okay, maybe copying isn’t the best word, let’s say; be inspired by their ideas. There are many moving parts in these types of arrangements, so we need to carefully dissect each element and understand how it all fits together.
Thankfully we’ve got just the guy! Fingerstyle guru Collin Hill is here to share some arrangement tips and teach you how to play ‘Danny Boy’ in the process.
This lesson comes straight from Pickup Music’s Fingerstyle Learning Pathway. At the end of this article, we’ll show you how to get your free trial.
How to create a basic arrangement
This is a very brief overview of how to approach an arrangement from scratch. As long as you can hum the melody to the tune, you’re ready to go!
Find the right key
Usually, people pick a key that works for their vocal range, but this is an instrumental rendition, so we don’t need to worry about straining those precious vocal cords.
So how do we decide where to start?
Melody
The best way to find the ideal key/position for your arrangement is to play through the melody and find the lowest note, and the highest note.
You don’t want to be playing it high up the neck – aim to have most of the melody around the open position.
It’s also important to keep the lowest notes of the melody away from the bottom strings because that’s where the bass notes of our chords will be.
Collin chose the key of G for this arrangement of Danny Boy.
Bass
Now we have a rough idea of where the melody lives on the neck, it’s time to figure out the bass line.
The key provides info on the bass notes we need throughout the song.
Occasionally you may want to add passing tones in between them, but usually, the bass notes will consist of seven notes in the key.
In the key of G, those notes are:
G, A, B, C, D, E, and F
One way to start your arrangement is by figuring out which bass notes compliment the melody, then it’s just a matter of building the chords on top of those notes.
Chords
Once you’ve established the key for the arrangement, and the bass notes, you just need to fill in the blanks.
The key provides us with this information too! Every key contains seven diatonic chords built from those notes we just learned.
These are the 7 diatonic chords in the key of G are:
G, Am, Bm, C, D, Em, and F#mb5
So if one of the bass notes you picked out is a C (the IV chord), you know it will be major, if you have an A (the II chord) in the bass line – build it into a minor chord.
Playthrough
Now you understand the basic principles behind creating an arrangement, it’s time to put it into action.
Let’s learn how to play Danny Boy following the same process that we just outlined.
Danny Boy fingerstyle arrangement
The first step is the melody. If you want to try figuring it out by ear first, that would be a good exercise, but feel free to just follow the video, or TAB below.
There is also a video lesson to go with this article, so you can see exactly how Collin plays it.
Melody
I’ll get you started on the ideal fingering for the first part of the TAB.
- Start with your ring finger on the 4th fret of the D string.
- Pluck the G string open, then place your index finger on the 2nd fret of the G string.
- Move to the open B string, then return to the 2nd fret of the G string.
- Continue with the melody, paying attention to the ringing notes to maintain a smooth, connected sound.
The melody is made of individual notes, but we want to play them almost like an arpeggiated chord – let each note ring as long as possible.
With that in mind, work your way through the rest of the TAB. If you get stuck, refer to the video for the full tutorial.
You want to reach a point where you can play the melody effortlessly – this will make adding the next parts much easier.
Add the bass notes
The song starts with a ‘pickup line’ – this just means the melody begins by itself, and then the bass and chords join in on the next measure.
Verse
- Play the first three notes of the melody
- Then on the fourth note add the bass note G (3rd fret on the low E string)
- You should be playing the G bass note and the open B string in the melody together.
The next bass note is C – on the 3rd fret of the A string.
There are two other bass notes – D and F#. Continue playing through the melody and try to figure out where they go. Once you’ve done that, check the TAB and see how close you were.
Chorus
The bass notes for the chorus are E, C, G, D.
When the melody goes up high to that 7th fret on the high E string you’ll need to use your index finger for the G and C bass notes and your pinky on the high E.

These types of fingerstyle arrangements can seem pretty complex to begin with, but as you play more of them you’ll internalize the concepts.
Here’s the tab for the chorus:
Before we move on, try to play the chorus and verse back-to-back. Go as slowly as you need – always prioritize accuracy over speed.
Harmonization
The bulk of the arrangement is done. We have the bass notes and melody, all that’s left is the space in between them.
We’re essentially adding a few additional notes to build the full chords.
Usually, you can just play the open chord shape that matches the bass note, but occasionally you’ll need to do something a little different to accommodate the melodic line.
For this part, work through the TAB and find the most efficient movement between chords. If a certain part feels awkward to play, experiment with different fingerings.
If you’re still struggling to find smooth chord transitions, refer to the full playthrough towards the end of the video tutorial.
Want to learn more?
Hopefully, all of those intricate-looking fingerstyle songs aren’t so intimidating anymore.
Finding your own way is one of the most important parts of becoming a better guitarist. There’s a big difference between learning to play a song and learning to play a style.
The courses from Pickup Music are great because they guide you along a structured pathway. You’ll develop the skills to understand what you’re playing, not just shown how to play it.
Get full access to all of their content with this 14-day free trial and see for yourself!
Leave a comment
Your email address will not be published.
| Title | Artist | |
|---|---|---|
I'll Stand by You

|
The Pretenders | |
| Man on the Silver Mountain | Rainbow | |
Epic

|
Faith No More | |
Stargazer

|
Rainbow | |
| Highway to Hell | AC/DC |


1 Comment
Excellent information and thanks
Campbell Murray